Thinking about giving your floors a fresh new look? Epoxy flooring might just be the answer. It’s tough, looks great, and isn’t too hard to put down yourself. This guide is here to help you understand what epoxy flooring is all about, how to get your floor ready, and what you need to do to install it. Plus, we’ll cover how to keep it looking good and fix any problems that might pop up. Let’s dive into the world of epoxy floors and see how they can transform your space.
Key Takeaways
- Epoxy flooring is a durable and stylish option for both homes and businesses.
- Proper floor preparation is crucial for a successful epoxy installation.
- Choosing the right type and color of epoxy can enhance the look of your space.
- Regular maintenance keeps your epoxy floor looking new and prevents damage.
- Troubleshooting common issues can extend the life of your epoxy flooring.
Understanding Epoxy Flooring
What is Epoxy Flooring?
Epoxy flooring is a type of surface coating made from two main components: resin and hardener. When mixed, these elements form a robust plastic-like material. This process results in a surface that is highly durable and resistant to wear and tear. Epoxy flooring is known for its exceptional ability to withstand heavy traffic, resist water, stains, and various chemicals, making it ideal for both residential and industrial settings. Its seamless nature also means it’s easy to clean, as there are no crevices for dirt to hide.
Benefits of Epoxy Flooring
Epoxy flooring offers numerous benefits:
- Durability: It can handle heavy foot and vehicle traffic without showing signs of wear.
- Chemical Resistance: Ideal for industrial environments where spills might occur.
- Aesthetic Variety: Available in a wide range of colors and patterns, including metallic and 3D designs.
- Ease of Maintenance: The smooth surface makes cleaning a breeze.
Common Uses of Epoxy Flooring
Epoxy flooring is versatile and can be found in various settings:
- Commercial Spaces: Such as warehouses and retail stores, where durability is key.
- Industrial Facilities: Like factories and garages, where chemical resistance is crucial.
- Residential Areas: Including basements and garages, for a sleek, easy-to-clean surface.
Epoxy flooring not only enhances the aesthetic appeal of a space but also adds a layer of protection that prolongs the life of the underlying surface. It’s a practical choice for anyone looking to combine beauty with functionality.
Preparing Your Floor for Epoxy Installation
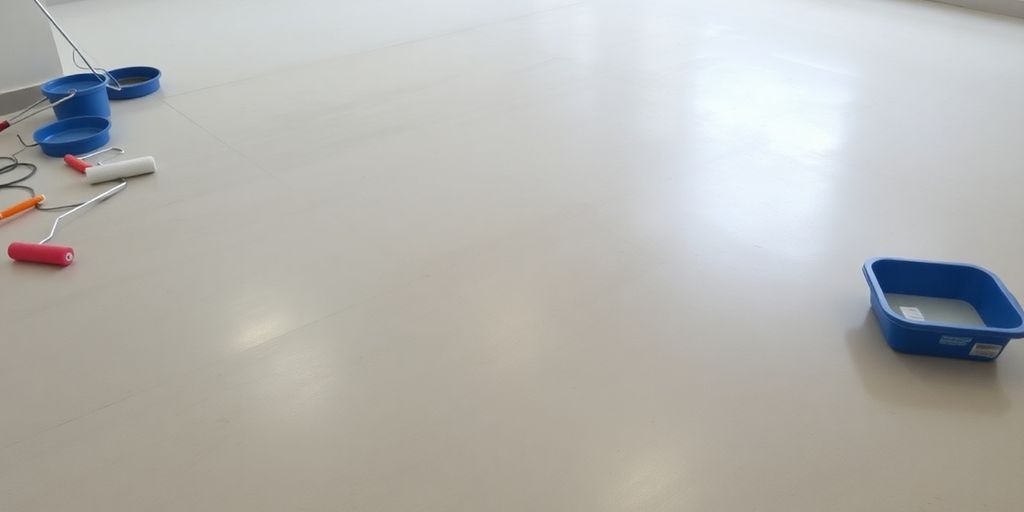
Cleaning and Repairing the Surface
Before you even think about applying epoxy, you need to start with a clean slate. This means giving your floor a thorough cleaning. Use a heavy-duty cleaner or degreaser to get rid of any dirt, grease, or stubborn stains that might be hanging around. It’s not just about making it look good; these substances can mess with how well the epoxy sticks.
Once the floor is squeaky clean, inspect it for any cracks or chips. Fill these imperfections with a concrete filler or an epoxy patching compound. Make sure these repairs are completely dry before moving on. Uneven floors? No problem. Use a self-leveling compound to smooth out those bumpy spots.
Tools and Materials Needed
Getting everything ready before you start is key to a smooth installation. Here’s a quick list of what you’ll need:
- Heavy-duty cleaner or degreaser
- Concrete filler or epoxy patching compound
- Sandpaper or a floor grinder
- Self-leveling compound
- Nap rollers and paintbrushes
- Epoxy resin and hardener
Having all your tools and materials organized and within reach will save you a lot of hassle later on. It’s also smart to read through the epoxy product’s instructions to see if there are any specific tools or steps you need to follow.
Importance of Surface Preparation
Don’t underestimate the importance of getting your surface ready. Up to 80% of epoxy failures can be traced back to poor prep work. If your floor isn’t clean, dry, and smooth, the epoxy might not stick well, leading to problems like bubbling, peeling, or cracking down the line.
Investing time in proper surface preparation can make all the difference between a floor that lasts and one that doesn’t. A well-prepared surface ensures the epoxy bonds correctly, giving you a durable and beautiful finish.
Remember, different floors might need different prep methods, so always check the manufacturer’s guidelines. Taking these steps seriously will set the stage for a successful epoxy flooring project.
Choosing the Right Epoxy for Your Needs

Types of Epoxy Flooring
Picking the right epoxy floor coating means understanding the different types available. Self-leveling epoxy is great for smooth finishes and can cover minor imperfections. If you’re dealing with heavy-duty areas, like warehouses, you might want to consider epoxy mortar. This type is mixed with quartz or other additives to handle extreme conditions. For those worried about slipping, adding a slip-resistant additive can make a big difference.
Color and Finish Options
The options for color and finish are practically endless. Solid colors offer a clean, uniform look, which is perfect if you’re aiming for simplicity. But if you want something more eye-catching, metallic epoxies create dynamic, swirling patterns that resemble marble or stone. You can also add decorative chips or flakes for a terrazzo-like effect, which comes in various colors and sizes to match your style.
Considerations for Different Spaces
When choosing epoxy, think about where you’ll be using it. For industrial or commercial environments, durability is key. Choosing the right epoxy floor coating depends on the specific needs of a business. In garages or workshops, you might want to focus on slip resistance. Meanwhile, in a kitchen or bathroom, ease of cleaning and moisture resistance are crucial. Consider how the space is used and what properties are most important for your needs.
Remember, the right choice of epoxy not only enhances the look of your floor but also boosts its functionality and lifespan. Make sure to weigh all the factors before making your decision.
Step-by-Step Guide to Installing Epoxy Flooring
Mixing the Epoxy Components
First things first, you need to mix the epoxy resin and hardener. This step is crucial for the epoxy to set correctly. Make sure you follow the manufacturer’s instructions to a T, as the right ratio is key. Use a mixing paddle attached to a drill for thorough blending. Mix until you see no streaks left in the mixture.
Applying the Base and Top Coats
- Prime the Floor (if necessary): Some epoxy systems need a primer before the main coat. If yours does, roll it out evenly and let it dry as per the instructions.
- Apply the Base Coat: Pour the mixed epoxy on the floor, starting from the farthest corner. Use a roller with an extension pole for even coverage, and a brush for tricky edges. Work in sections to keep a wet edge.
- Broadcast Decorative Flakes (optional): If you want to add decorative flakes, sprinkle them over the wet base coat. You can go light or heavy, depending on the look you’re after.
- Allow to Cure: Let the base coat cure for the time recommended by the manufacturer, usually 12-24 hours.
- Apply the Top Coat: Once the base is cured and flakes are added, mix and apply the top coat. This seals everything in and adds protection.
- Final Curing: Allow the top coat to cure fully, which might take a few days.
Adding Decorative Elements
If you’re looking to jazz up your floor, now’s the time. While the base coat is still tacky, you can add decorative flakes or chips. These not only add texture but also visual interest. You can go for a subtle sprinkle or a full-blown terrazzo look. Just be sure to do this while the base coat is still wet to ensure the flakes stick properly.
Epoxy flooring can transform a space, offering durability and a sleek finish that resists moisture and stains. Just remember, patience is key during the curing process to ensure a flawless result.
For more detailed steps on assessing your concrete surface and ensuring proper adhesion, check out this essential guide to epoxy flake flooring installation.
Maintaining Your Epoxy Floor
Regular Cleaning Tips
Keeping your epoxy floor in tip-top shape is all about regular cleaning. It’s pretty straightforward. Sweep or vacuum regularly to get rid of dirt and debris that could scratch the surface over time. When it’s time to mop, stick to traditional mopping methods with a pH-neutral cleaner. Skip the harsh chemicals, as they can dull the shine of your floor. And remember, too much water can be a problem, so avoid soaking the floor.
Handling Stains and Spills
Spills happen, and when they do, it’s best to act fast. Wipe up any liquid spills immediately to prevent staining. For tougher stains, a soft cloth with a little bit of mild detergent usually does the trick. Avoid abrasive cleaning tools that might scratch the epoxy. If you find a stain that’s being stubborn, a gentle scrub with a soft brush might be necessary.
Long-Term Care and Maintenance
Looking at the bigger picture, maintaining your epoxy floor is about more than just cleaning. Every now and then, inspect your floor for any signs of damage, like chips or cracks. If you spot any, it’s important to address them quickly to prevent them from getting worse. You might also consider applying a new topcoat every few years to keep your floor looking fresh and to protect it from wear and tear.
Regular maintenance not only keeps your epoxy floor looking great but also extends its lifespan, saving you money in the long run. Taking a little time now can prevent bigger headaches down the road.
Troubleshooting Common Epoxy Flooring Issues
Bubbling and Peeling
Bubbles and peeling are among the most common issues people face with epoxy floors. These problems usually arise from poor surface preparation. Without a properly cleaned and etched surface, the epoxy can’t adhere well, leading to bubbles forming under the coating. To avoid this, make sure to prepare your surface properly before applying epoxy. If bubbles do appear, they can often be sanded down and re-coated, but prevention is always easier than repair.
Discoloration Problems
Discoloration can be a real headache, especially if you’ve gone for a specific color scheme. This issue often results from exposure to UV light or from using incompatible cleaning products. To minimize discoloration, opt for UV-resistant epoxy products and follow the manufacturer’s guidelines on cleaning agents. If discoloration occurs, you might need to sand down the affected area and apply a new topcoat.
Repairing Damaged Areas
Cracks or chips in your epoxy floor can happen, particularly in high-traffic areas. To fix these, start by cleaning the damaged area thoroughly. Next, fill the crack with an epoxy patching compound, ensuring it’s level with the surrounding floor. Once cured, sand it smooth and apply a fresh coat of epoxy to blend it in. Regular maintenance checks can help catch these issues early and keep your floor looking its best.
Consistent care and attention to detail during installation can prevent many epoxy flooring problems, ensuring a durable and attractive finish.
Exploring Design Possibilities with Epoxy Flooring
Solid Colors and Patterns
Epoxy flooring offers a wide range of design possibilities, starting with solid colors and patterns. Solid colors are a classic choice, providing a sleek and uniform look that can complement any space. Whether you’re aiming for a minimalist aesthetic or a bold statement, solid colors can be tailored to your preference. Patterns, on the other hand, allow for more creativity. You can incorporate geometric shapes or custom designs that reflect your personal style. In 2024, customization takes center stage in epoxy flooring, with geometric patterns and bespoke designs allowing for personal expression. This trend transforms floors into unique canvases, catering to individual tastes and preferences.
Metallic and 3D Designs
For those looking to add a touch of luxury or artistic flair, metallic and 3D epoxy designs are the way to go. Metallic epoxy floors create a stunning, marbled effect with swirls of color that can mimic the look of polished stone or flowing water. The reflective nature of metallics adds depth and dimension to any room, making it a popular choice for modern interiors. 3D designs take it a step further by incorporating images or illusions into the floor, creating an immersive experience. Imagine walking on a beach or through a forest right in your living room – the possibilities are endless!
Incorporating Decorative Flakes
Decorative flakes are a fantastic option for adding texture and visual interest to epoxy floors. These flakes come in various colors and sizes, allowing for a customized look that can resemble terrazzo or granite. They not only enhance the floor’s appearance but also provide additional slip resistance, making them ideal for high-traffic areas like garages or commercial spaces. The application process involves broadcasting the flakes onto the wet epoxy, ensuring they adhere properly for a long-lasting finish.
Epoxy flooring isn’t just about durability; it’s a canvas for creativity. With options ranging from solid colors to intricate designs, your floor can be a reflection of your style and imagination. Whether you’re renovating a home or designing a commercial space, epoxy flooring offers endless design possibilities to explore.
Wrapping It Up
So there you have it, a beginner’s guide to epoxy flooring. It’s not just about slapping some resin on the ground; it’s a process that involves careful prep and a bit of patience. But once you get the hang of it, the results can be pretty amazing. Whether you’re looking to jazz up your garage or give your basement a new look, epoxy flooring offers a durable and stylish solution. Just remember, take your time with the prep work, follow the instructions, and don’t rush the curing process. With these tips in mind, you’re well on your way to transforming your floors into something special. Happy flooring!
Frequently Asked Questions
What exactly is epoxy flooring?
Epoxy flooring is a type of floor covering that uses a mix of resin and hardener to create a strong, plastic-like surface. It’s known for being tough and resistant to things like water, stains, and chemicals.
Why is surface preparation important for epoxy flooring?
Getting the floor ready is super important because it helps the epoxy stick better. A clean and smooth surface makes sure the epoxy bonds well, preventing problems like peeling or bubbling later on.
Can I install epoxy flooring myself?
Yes, you can install it yourself if you follow the steps carefully. Make sure to clean and prepare the floor, mix the epoxy right, and apply it evenly for the best results.
What are the benefits of using epoxy flooring?
Epoxy floors are really durable, easy to clean, and look great. They can handle a lot of foot traffic and are resistant to spills and stains, making them perfect for both homes and businesses.
How do I maintain my epoxy floor?
To keep your epoxy floor looking good, clean it regularly with a mop and mild detergent. Avoid using harsh chemicals, and quickly wipe up any spills to prevent stains.
What should I do if my epoxy floor gets damaged?
If your epoxy floor gets damaged, you might need to sand down the area and apply a new layer of epoxy. For bigger issues, it might be best to call a professional for help.