Thinking about giving your basement a fresh new look? Epoxy flooring might just be the answer. It’s a sturdy and stylish option that can turn a dull space into something special. This article will walk you through why epoxy is a great choice for basements, how to get started, and tips to keep it looking great.
Key Takeaways
- Epoxy flooring is a durable choice for basements, resisting scratches and stains.
- It’s moisture-resistant, making it ideal for damp-prone areas like basements.
- The flooring is easy to maintain, requiring simple cleaning routines.
- Epoxy offers various design options, from metallic finishes to solid colors.
- Installing epoxy can be a DIY project, but professional help ensures a smooth finish.
Why Choose Epoxy Flooring for Your Basement
Durability and Longevity
Epoxy flooring is renowned for its toughness. This type of flooring can withstand heavy foot traffic, spills, and even impacts, making it perfect for a basement that sees a lot of use. Unlike other flooring options that might wear out, epoxy stays strong and looks good for years. It’s a solid choice if you want something that lasts.
Moisture Resistance
Basements are often damp, and moisture can be a real issue. Epoxy flooring acts as a barrier against moisture, protecting your basement from dampness and potential mold growth. This is especially important in spaces like basements that are prone to water issues. Epoxy flooring is an ideal choice for areas prone to dampness, such as basements, laundry rooms, mudrooms, and storage spaces.
Aesthetic Appeal
Who said functional can’t be beautiful? Epoxy flooring comes in a variety of colors and finishes, from metallic sheens to solid hues. This means you can customize your basement floor to match your style, whether you’re going for sleek and modern or something more classic. The design possibilities are endless, allowing your basement to be as unique as you are.
Choosing epoxy flooring for your basement isn’t just about practicality; it’s about transforming your space into a place that feels welcoming and stylish.
The Benefits of Epoxy Flooring in Basements
Easy Maintenance
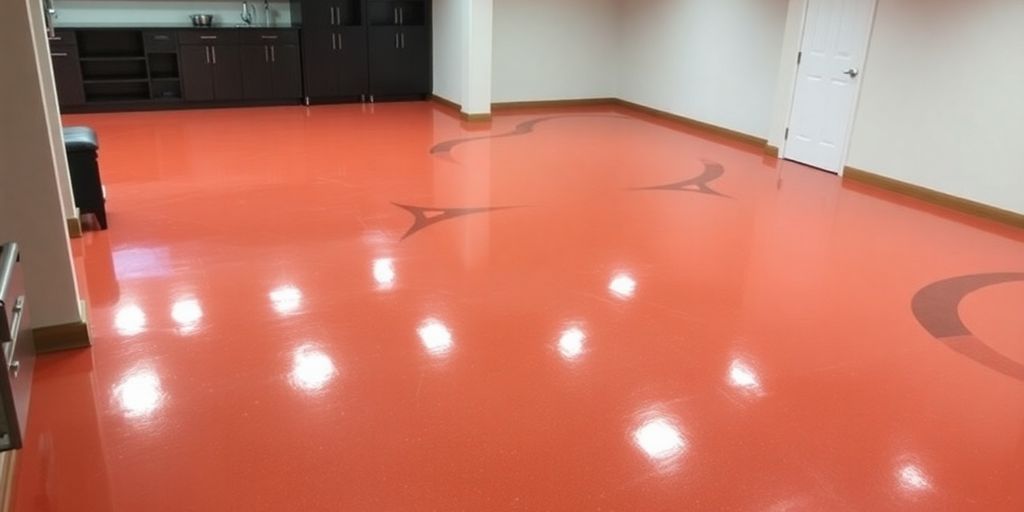
One of the standout features of epoxy flooring is how simple it is to keep clean. The smooth, non-porous surface makes sweeping and mopping a breeze. Forget about spending hours scrubbing or dealing with stubborn stains. With epoxy, dirt and spills don’t stand a chance. This is a huge plus if your basement sees a lot of activity or if you’re hosting gatherings down there. Plus, the seamless nature of epoxy means there’s no place for dust or debris to hide.
Cost-Effectiveness
Epoxy flooring is not just about looks; it’s a smart financial decision too. The initial investment might seem a bit steep, but when you consider its longevity and minimal maintenance needs, it pays for itself over time. Unlike other flooring options that might need regular repairs or replacements, epoxy stands the test of time. So, if you’re looking to save money in the long run, this is the way to go.
Eco-Friendly Options
Concerned about your environmental impact? Epoxy flooring has you covered. Many epoxy products are designed to be environmentally friendly, with low VOC levels and sustainable production methods. Additionally, because epoxy can be applied over existing floors, it reduces the need for new materials, cutting down on waste. It’s a win-win for your basement and the planet.
Design Ideas for Epoxy Basement Floors
Metallic Finishes
Ever thought about giving your basement floor a touch of elegance? Metallic epoxy finishes are the way to go. These finishes can mimic the look of marble or other luxurious stones, making your basement feel like a high-end space. The swirling patterns and reflective surfaces can add depth and dimension, transforming a dull floor into a stunning focal point. Plus, the unique metallic sheen is sure to catch the eye of anyone who steps into the room.
Solid Colors and Patterns
If you’re aiming for a more straightforward yet stylish approach, solid colors or simple patterns might be your best bet. Epoxy flooring offers a wide range of colors—from bold reds and blues to subtle grays and beiges. You can even create geometric patterns or checkerboards for a playful touch. This option allows you to match the floor with the rest of your basement decor seamlessly.
Custom Textures
Want something truly unique? Custom textures can be added to your epoxy floor to create a one-of-a-kind look. Whether you prefer a smooth, polished surface or a gritty, textured finish, epoxy can be tailored to meet your preferences. This flexibility not only enhances the aesthetic appeal of your basement but also provides practical benefits like slip resistance or improved comfort underfoot.
Choosing the right design for your epoxy basement floor is all about reflecting your personal style and meeting the functional needs of the space. Whether you opt for metallic finishes, solid colors, or custom textures, epoxy flooring offers a versatile canvas to express your creativity.
Preparing Your Basement for Epoxy Coating
Getting your basement ready for epoxy flooring is like setting the stage for a big show. A well-prepared surface is crucial for a successful epoxy application. Let’s break down the steps you need to follow.
Cleaning and Decluttering
First things first, you need to clear out your basement. Remove all furniture, boxes, and any other items cluttering the space. Once it’s empty, give the floor a thorough sweep to get rid of dust and debris. A vacuum can help ensure there’s no lingering dirt. After that, mop the floor to make sure it’s spotless. Remember, any dirt or dust can mess with how well the epoxy sticks.
Addressing Moisture Issues
Basements are notorious for being damp, so it’s important to tackle any moisture problems before you start. Check for leaks or damp spots on the walls and floor. Use a dehumidifier to dry out the area if necessary. You want the environment as dry as possible to ensure the epoxy adheres correctly and lasts a long time.
Floor Repair and Priming
Inspect your basement floor for cracks or chips. These imperfections need fixing before you apply epoxy. Use a concrete patch to fill in any gaps and smooth out the surface. Once the repairs are done, it’s time to prime the floor. Priming helps the epoxy stick better and creates a more even finish. Consider using a mechanically roughened surface to enhance the binding power of the epoxy.
Prepping your basement floor is all about patience and attention to detail. Taking the time to do it right will pay off in the long run with a durable and beautiful epoxy floor.
DIY vs Professional Epoxy Installation
Pros and Cons of DIY
Taking on a DIY epoxy flooring project for your basement can be a satisfying endeavor. You get to save on labor costs and have the freedom to choose your materials. Plus, it can be a fun weekend project if you enjoy hands-on work. However, it’s not always as straightforward as it seems. Here are some points to consider:
- Cost Savings: DIY epoxy floor kits are often cheaper than hiring a professional, making them appealing for budget-conscious homeowners.
- Learning Curve: There’s a lot to learn about mixing and applying epoxy correctly. Mistakes can lead to a poor finish.
- Time-Consuming: Prepping the floor and applying the epoxy takes time and patience.
- Quality Concerns: Without professional equipment and experience, the quality might not match that of a pro job.
Benefits of Hiring Professionals
Opting for a professional installation comes with its own set of advantages. Here’s why you might consider hiring the pros:
- Expertise: Professionals bring experience and can handle unexpected challenges like moisture issues or uneven surfaces.
- Time Efficiency: They can complete the job faster and often with less hassle than a DIY attempt.
- Quality Assurance: A professional job typically offers a more durable and aesthetically pleasing finish.
Hiring professionals ensures that the job is done right the first time, reducing the chances of costly mistakes.
Cost Considerations
When deciding between DIY and professional installation, cost is a major factor. Here’s a rough comparison:
| Aspect | DIY Epoxy Kit | Professional Installation |
|---|---|---|
| Initial Cost | Low | High |
| Long-term Durability | Variable | High |
| Time Investment | High | Low |
| Risk of Mistakes | High | Low |
Think about the long-term implications of your choice. While DIY might save you money upfront, a professional installation could save you from future headaches and repairs. Consider your skills, time, and budget before making a decision.
Maintaining Your Epoxy Basement Floor
Regular Cleaning Tips
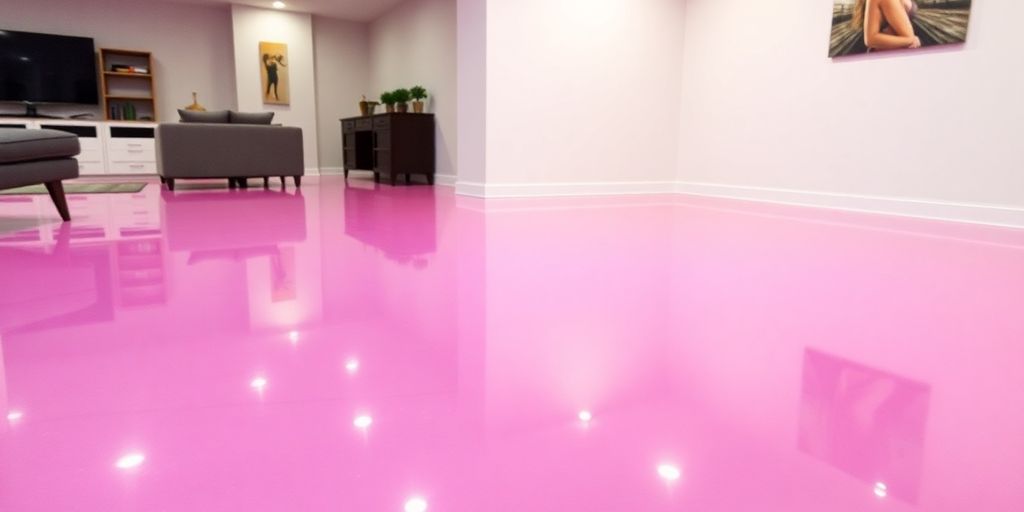
Keeping your epoxy basement floor clean is pretty straightforward. A simple sweep and mop routine will do wonders. Use a soft-bristle broom or a dust mop to remove any loose dirt and debris. For mopping, opt for a mild detergent mixed with warm water. Avoid using harsh chemicals like bleach or hydrochloric acid as these can damage the epoxy surface. A quick sweep every few days and a mop once a week should keep your floor looking fresh.
Handling Spills and Stains
Spills happen, especially in a busy basement. The key is to tackle them quickly. Epoxy is pretty resistant to stains, but you don’t want to test its limits. For liquid spills, blot them up with a soft cloth as soon as possible. If you’re dealing with something sticky or oily, a bit of warm soapy water should do the trick. Remember, the faster you act, the less likely a spill will leave a mark.
Long-Term Care and Upkeep
To keep your epoxy basement floor in top shape for years, there are a few long-term care tips to follow. First, consider placing protective pads under heavy furniture to prevent scratches. Also, keep an eye on the temperature and humidity in your basement. Extreme conditions can affect the epoxy over time. Lastly, if you notice any small chips or cracks, address them promptly to prevent larger issues down the line. With these simple steps, your floor will stay looking as good as new.
To keep your epoxy basement floor looking great, regular cleaning and maintenance are key. Make sure to sweep or vacuum to remove dirt and debris, and use a damp mop with a gentle cleaner to keep it shiny. If you notice any scratches or damage, address them quickly to prevent further issues. For more tips and professional help, visit our website today!
Conclusion
So, there you have it! Epoxy flooring is a game-changer for your basement. It’s not just about making the space look good; it’s about adding durability and ease of maintenance. Whether you’re turning your basement into a cozy hangout or a practical workspace, epoxy flooring has got you covered. It’s tough, resists moisture, and is super easy to clean. Plus, with all the design options, you can really make the space your own. If you’re thinking about giving your basement a facelift, epoxy flooring might just be the perfect solution. It’s a smart investment that pays off in both style and functionality. Ready to get started?
Frequently Asked Questions
Can I apply epoxy on my basement floor by myself?
Yes, you can do it yourself by cleaning the floor, preparing it, mixing the epoxy, applying the first coat, letting it dry, and then adding a top coat for protection.
Is it affordable to put epoxy on a basement floor?
The cost depends on the size of your basement and the type of epoxy used. On average, it costs between $3.15 and $12 per square foot.
What are the advantages of having epoxy flooring in a basement?
Epoxy flooring is waterproof, mold-resistant, easy to clean, durable, and adds a shiny finish that brightens the basement.
How long does it take to install epoxy flooring in a basement?
The installation process usually takes about two days to complete.
Are epoxy floors slippery?
While epoxy can be smooth, you can add anti-slip materials to make it safer to walk on.
Why is epoxy a good choice for basements?
Epoxy is great for basements because it handles moisture well, is easy to keep clean, and lasts a long time.